For this game, my list consisted of my favorite 'caster, Lord Carver. His list was:
Theme: The Thornfall Alliance
Lord Carver, BMMD, Esq. III [+28]
- War Hog [15]
- War Hog [15]
- War Hog [15]
- Battle Boar [7]
- Battle Boar [7]
Maximus [4]
Farrow Brigands [15]
- Farrow Brigand Warlord [0]
Farrow Brigands [15]
- Farrow Brigand Warlord [0]
Farrow Razorback Crew [5]
Farrow Razorback Crew [5]
I was just starting to use this list when I sent my Heavy Hogs away, and really like the potential. Carver gives those Brigands a +3 attack swing on their Prey targets, which makes them RAT 8! And Maximus has the potential to munch a large group of infantry (I've never actually had the chance, though) during Feat turn. The Razorbacks are iffy with their RAT 4 (RAT 5 when close to Carver), but really they are there to provide a couple of shots and give me free Warlords.

My opponent was playing Borka2 and had this picture he had found on the internet that he wanted to "recreate" once I got my Pigs back.

His list was as follows:
Borka, Vengeance of the Rimeshaws [+29]
- Rok [21]
- Dire Troll Mauler [15]
- Dire Troll Mauler [15]
- Troll Bouncer [9]
Totem Hunter [6]
Wrong Eye [17]
- Snapjaw [0]
Trollkin Fennblades [15]
- Fennblade Officer/Drummer [5]

The scenario we were playing was Take and Hold. The crates were obstacles, and the center pile was an obstruction. Both buildings were obstacles, and the ruin was rubble. Minions won the initial roll-off, and chose the side with the buildings.
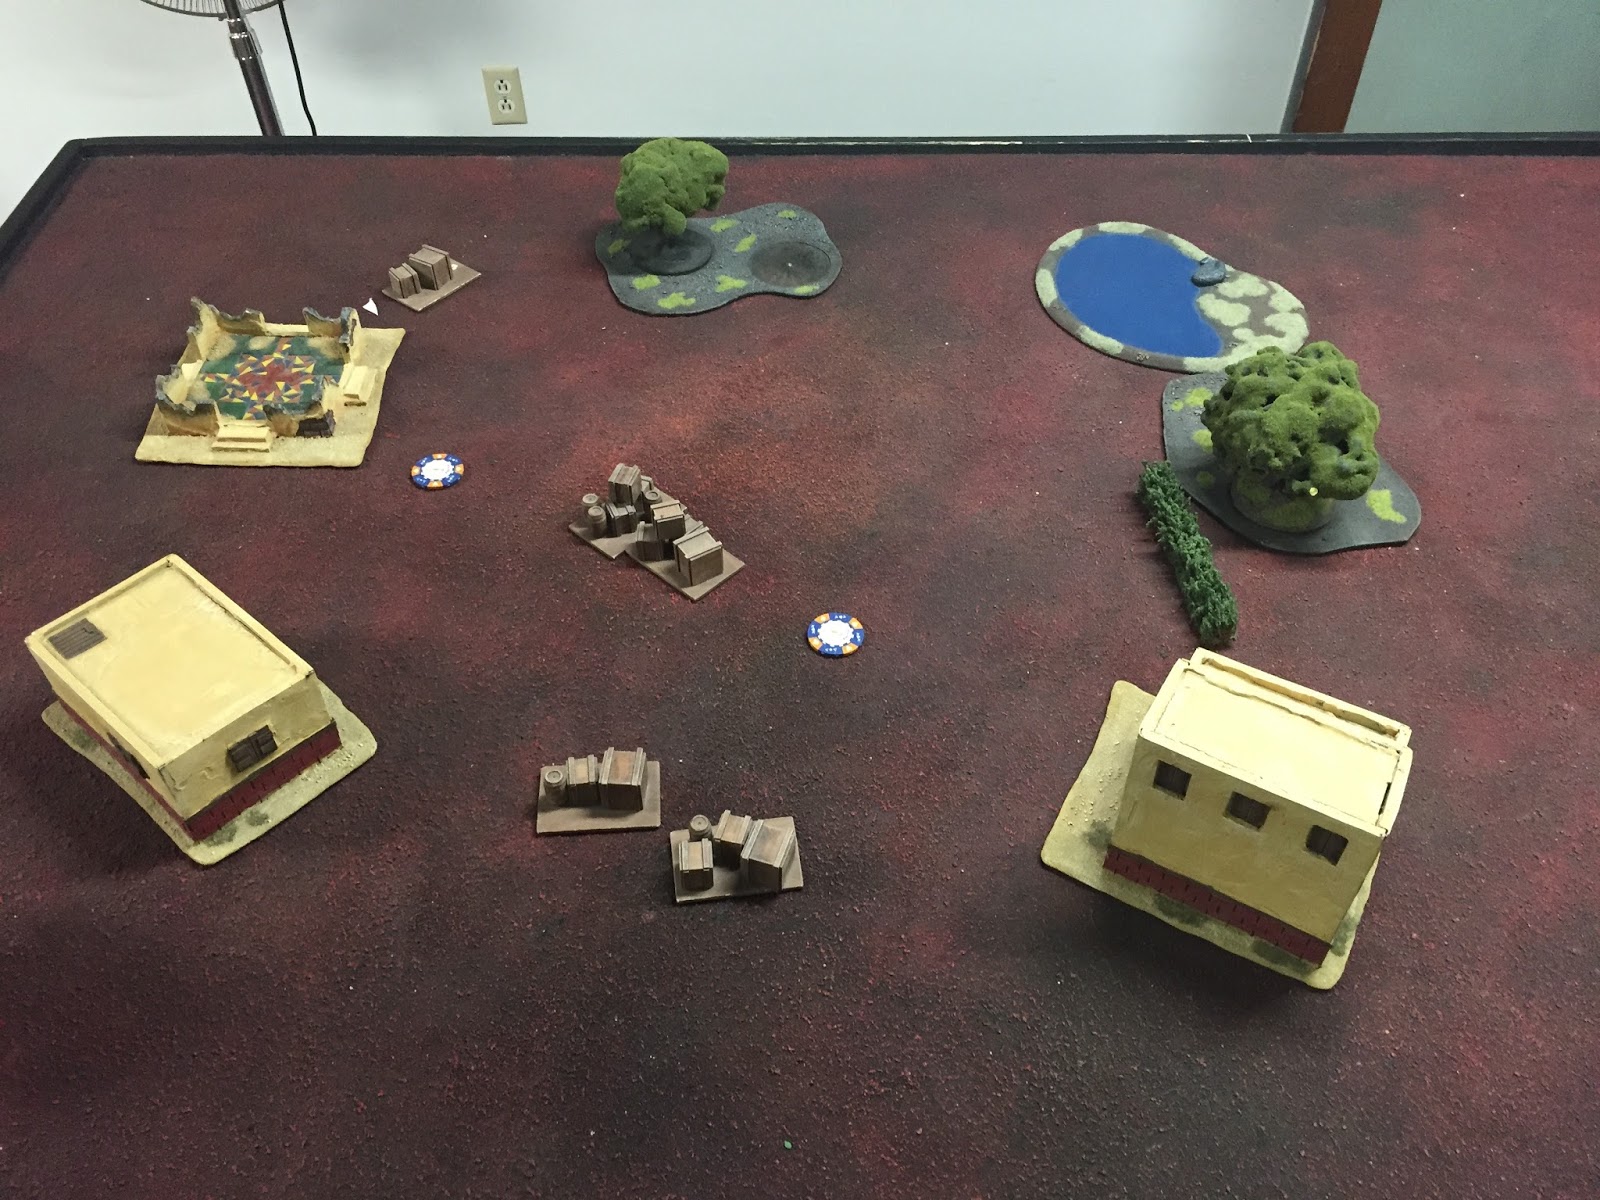
The Fennblades deployed on the right, bunched between the central forest and water. Borka and his Trolls deployed on the other side of the forest with Wrong Eye and Snapjaw beside them. The Totem Hunter then deployed in the central woods.

Minions - Deployment
First unit of brigands deploy behind the building, with the intention of running around the building. This ended up being a faulty assumption. A War Hog deployed on that flank, with a Battle Boar for Primal support. Both Razorbacks deploy behind the line of crates, and Maximus deploys next to them. In the right gap, the other two War Hogs deploy with a Battle Boar and Lord Carver. Behind them deploy the Brigands. The lefthand brigands put Prey on a Mauler, and the righthand brigands put Prey on the Fennblades.

Trollbloods - Turn 1:
Totem Hunter runs up behind the pile of crates in the middle. Fennblades run up and spread out. Rok runs up behind the Fennblades. Maulers run up, with Wrong Eye and Snapjaw behind them. Borka moves up and casts Snow Shroud on the Fennblades and drops a Fury.
I forgot to take a picture ... :(
Minions - Turn 1:
Carver starts the turn off, and realizes pretty quickly he deployed too far to the right - the left hand portion of his battle group is not in control. Oh well, easily fixed (but I've been doing this a lot lately, need to pay more attention). Carver casts Batten Down the Hatches and Mobility, and advances towards the center of the table. This gets everybody back into control.
Left side War Hog runs, and the Brigands move up behind him. I had originally planned for them to run around the left side of the house, but for some reason changed my mind. This put a real jam into that side - not good. Battle Boar moves up as well, with the two Razorbacks moving up behind the crates. Maximus enthusiastically ran towards the Totem Hunter (he was the Totem's Prey, if I remember right).
On the right side, Carver realized he was just slightly in the charge range of two Fennblades (13" threat is scary!), so had two War Hogs run up to flank him. The Battle Boar ran up, too, with the Brigands spreading out behind.

Trollbloods - Turn 2:
Borka snags all of his Fury and upkeeps Snow Shroud. Totem Hunter moves around the crates (dang, 7" is a long ways) and engages Maximus - then he jumps over Maximus and lands amidst the Razorbacks! He easily slaughters one unit, and Sprints to engage the second in the back.
The Fennblades advance, using No Quarter to Run/Charge and engage my lines. Two of them take swings at Carver, but do no damage. They then reposition slightly.
Dire Trolls advance towards the left side flag, getting into position to take on that flank.
Rok runs towards the right flag - not to actually do anything with it, but to be in position next turn as well. Borka joins him, casts Battle Charged and then Feats. And now I understand why Snow Shroud was so important - his whole army now causes any model that hits them in melee to become stationary as soon as the attack is resolved! Well, the Trollbloods portion of his army, anyway. We then find out the furthest left Dire Troll is outside of control - ouch!
Bouncer advances up behind the Dire Trolls, and Wrong Eye and Snapjaw advance as well. Wrong Eye casts Star Crossed, Snapjaw Submerges and riles.

Minions - Turn 2:
Carver leeches Fury and goes into the tank. That Feat really puts a damper on my plans, and I spend a long time trying to determine how to handle going stationary. First, my only real targets are the Fennblades, and they are not worth having a War Hog go stationary to kill one. The really hard part is they are also engaging everyone but Maximus across the front lines.
After some serious thought, things start to happen. Brigands move up to swing at the Fennblades on the left. One of them ends movement within 6" of a Dire Troll, and the huge beast charges forward (Battle Charged gives Countercharge). He misses his attack, though. :) Now the Brigands can swing, and they kill the two Fennblades on that side. The problem is that now the Dire Troll blocks the path the War Hog had to the Dire Troll out of Borka's control area. :/ *sigh* - more change of plans.
Maximus moves up and swings, taking out a Fennblade and going stationary. The left side Battle Boar moves over and swings at the Totem Hunter, boosting to hit. He misses and swings again, boosting to hit. He misses, buys an attack, and misses. REALLY?!? The Razorback crew, rather than shooting a Fennblade as planned, turn and swing at the Totem Hunter, missing of course.
Brigands on the right flank, after some serious thought, move up and whack/shoot the Fennblades on that side. Several go stationary, but they clear a path for the Battle Boar. The Battle Boar then runs up and engages Borka and Rok - mainly to be an annoyance that has to be dealt with.
Carver backs up between his two War Hogs as far as possible (still staying within melee range of the Fennblades) and casts Batten Down the Hatches and camps three. His flanking War Hogs blow snot on the Fennblades. The left hand War Hog, after a lot of premeasuring, determines he can't get to Snapjaw without multiple free strikes and moves to engage the backline Fennblades.

Trollbloods - Turn 3:
Borka leeches Fury and lets Snow Shroud drop. The remaining Fennblades shuffle slightly with Vengeance, with two swinging at Carver, again doing nothing, and one putting a serious hurt onto Maximus.
The Fennblades go first, killing Maximus and doing slight damage to the non-guardian War Hog, but they lose the Drummer to a free strike, so no more Reposition.
With Maximus dead, the Totem Hunter switches Prey to the left hand Brigands and jumps, leaving his combat and landing next to the Warlord. Two swings, and the Warlord lies dead.
The Dire Troll in front of those Brigands moves over behind the War Hog, and starts swinging. Due to some bad dice rolls, the Hog lives! And the Trollbloods bad luck continues, as Rok moves around the Battle Boar (taking minimal damage from the free strike) and fails to do anything significant to the right guardian War Hog.
Snapjaw moves up, and through more bad dice rolls, leaves the left hand War Hog (that was already smacked by the Dire Troll) knocked down and on two boxes. He lives!! :)
Borka, now with a clear lane to Carver, decides to go for it and charge in. He moves up, casts Primal - oh wait, Primal can only affect Warbeasts. That is unfortunate for Borka :( He swings with Trauma, misses the initial (charge) attack. Buys an attack, and deals minimal damage. He then realizes Carver has three fury, he has three attacks, and there's no way he is killing Carver. He casts the Bouncer's animus - no knockdown or push - and camps two.
The Bouncer moves up, as does the Dire Troll that was outside of Borka's control, and finally - after lots of premeasuring - Wrong Eye as well, casting Star Crossed to get as many enemy models as possible.
No picture of this turn, to much going on
Carver leeches Fury, and the Battle Boar in the back actually fails to Frenzy! Yeah, get those low dice rolls out early.
Carver then activates, casts Primal on the right hand War Hog, casts Batten Down the Hatches (just in case there's another turn), and Feats. He does take a swing at Borka, but does nothing.
The Battle Boar behind Borka activates, casts Primal, and advances into melee with the Trollblood. Three swings and decent damage leave Borka on no transfers.
The right side Brigands shuffle, getting out of the way of the War Hog, and take a couple swings at Rok. This was a mistake, as Rok is Stumbling Drunk with Borka and he moves around slightly - luckily for me he does not stumble into the location I need that War Hog!
The right hand War Hog moves slightly around Borka to get out of Star Crossed range, and puts two punishing axes into the warlock, killing him.
Victory for Minions!!
No comments:
Post a Comment